Simply Shutters Articles: All articles
18 Nov
2024
2024

We live in ever changing times. Consider now that there are more individuals starting businesses than ever before. According to the Government website, at the start of 2023 there were 5.51 million small businesses in the UK that equates to approximately 98% of the business population. They...
12 Aug
2024
2024

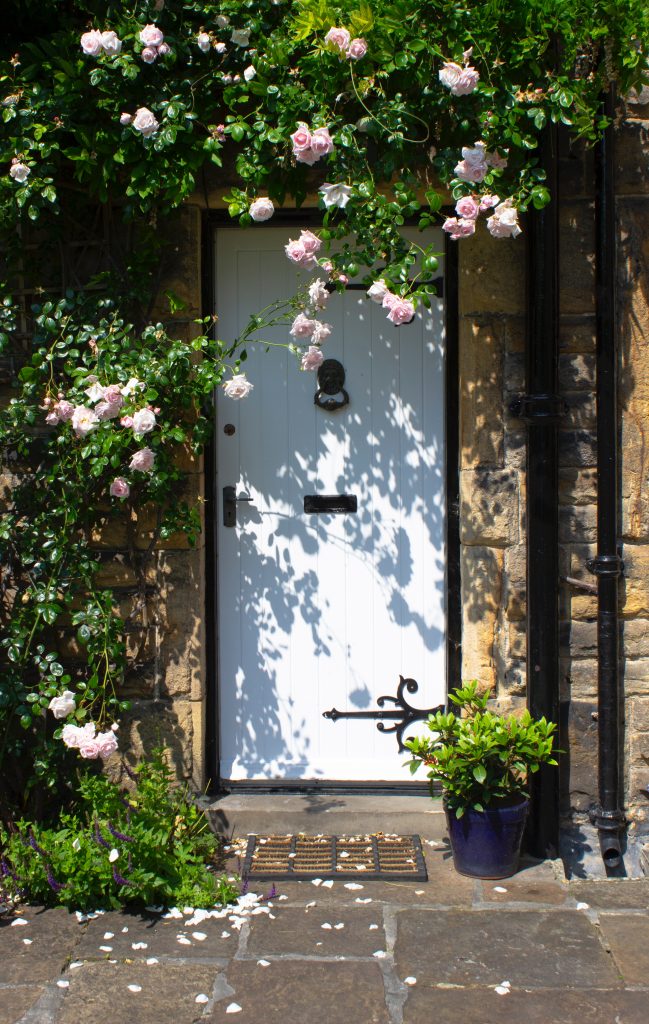
Continuing on from our first article, here is part II on creating a country cottage look on the exterior of your home. 1. Add a picket garden gate. Create the ultimate entrance to your cosy country cottage by adding a picket fence gate. You can match the colour of your fence to your front ...
05 Aug
2024
2024
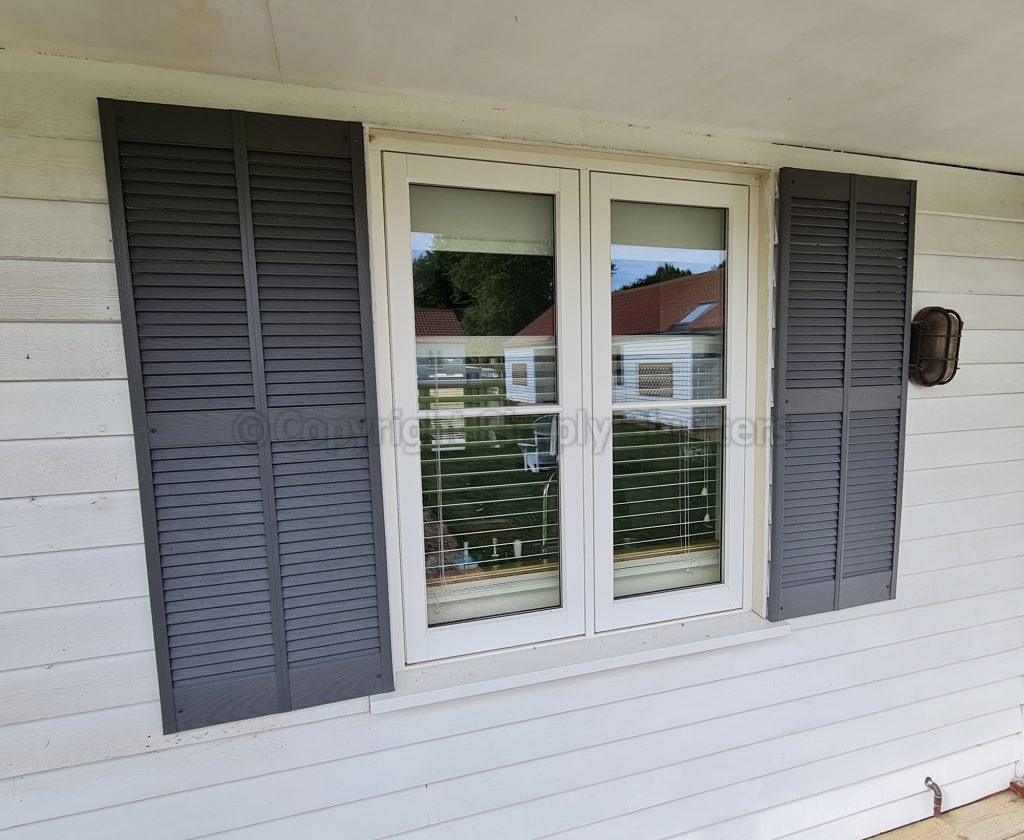
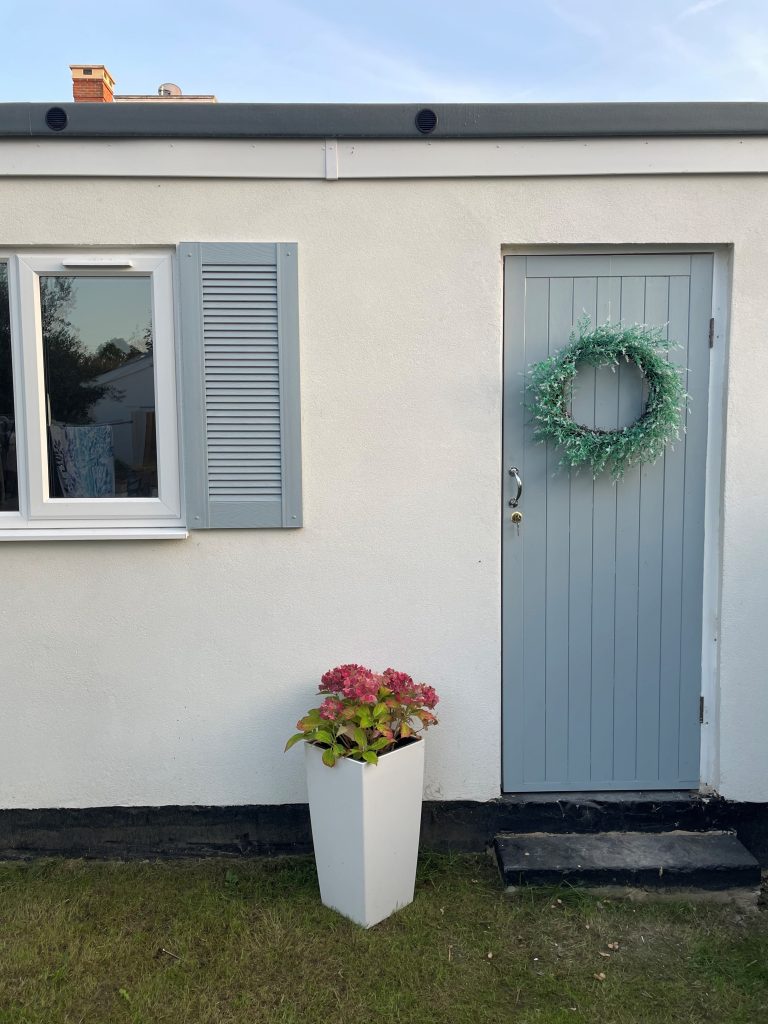
Have you been considering updating the exterior of your property but for one reason or another you just haven’t gotten around to it? If so, we understand, with the changeable weather, the rising costs of living and just general everyday life taking priority it’s easy for certain projec...
02 May
2024
2024

Updated: 28/01/2025 If you are regular customer of Simply Shutters, you may already know that we don’t just stock and sell louvre doors, we love them too! Louvre doors are a timeless classic, in fact describing louvre doors as old-fashioned could itself be considered outdated. Louvre d...
04 Apr
2024
2024
– Where did louvre doors begin?– Why do we ask if louvre doors are old fashioned and outdated?– Are louvre doors still available today?– Why should I consider louvre doors?– Where can I buy louvre doors? When it comes to home décor, if something is described ...
21 Feb
2024
2024
Categories : Company News, Interesting & Factual

At Simply Shutters, it’s time to celebrate because our little family run business has been building shutters for 25 years this year. That’s right, Simply Shutters has been open and running for 25 years. Just where has the time gone? We are so grateful to all our customers who have supp...
18 Jan
2024
2024
How pleased were we to be able to supply some of our Extrawide louvre shutters to a lovely client of ours who installed them on the Captains House located on the stunning Osea Island. What and where is Osea Island I hear you ask? Located between Maldon and West Mersea in the county of Esse...
28 Nov
2023
2023
How excited were we to be feature on motherhood and lifestyle blog ‘Latte and Lullabies’? The answer to that question is – very! Latte and Lullabies was created by Southwest London based mum Pamela Majekodumni and features her family life including her husband and three children. &nb...
17 May
2023
2023
With the current state of the economy many of us are feeling the pinch. With the rising costs of gas, electric and food in the supermarket, the last thing you might be thinking about is giving your house a makeover. But what if we told you there are a few things you can do to […]...
25 Apr
2023
2023
Simply Shutters are grateful to our many loyal customers who have supported us over the 23 years that we have been in business building and supplying beautiful, custom made external shutters. To help our business expand and to continue serving this very specialised niche market we have pur...
