Lowest prices guaranteed
 on shutters and louvre doors
 Family run business
 since 1999
 Same day dispatch
 on stock louvre doors
 Buy direct from the UK's
No.1 Manufacturer
Lowest prices guaranteed
Family run business
Same day dispatch
Buy direct from the UK's
Lowest prices guaranteed
Family run business
Same day dispatch
Buy direct from the UK's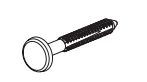
Electric drill, 1/4" drill bit, hammer, and Shutter-Loks
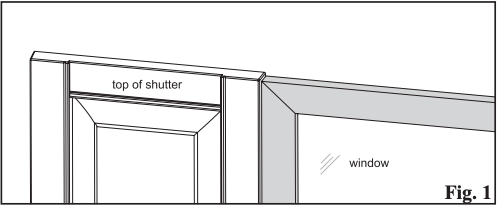
Step 1
Place the shutter next to the window and mark desired location against the wall or window. See Figure 1 at right.
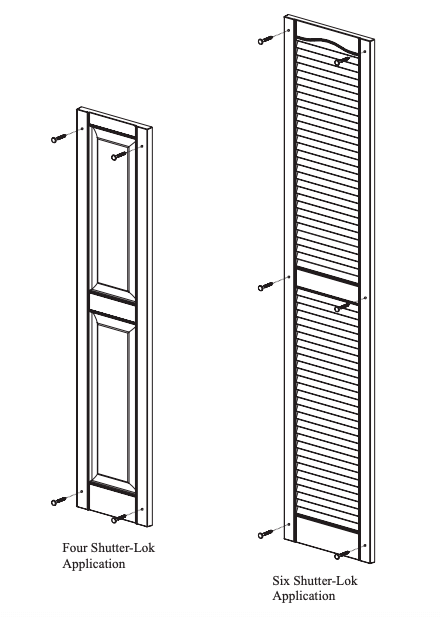
Step 2
For smaller sizes use four Shutter-Loks per shutter. For large sizes 55" and over, use six Shutter-Loks per shutter.
Step 3
To help ensure proper alignment mark or pre-drill holes using a 1/4" drill bit into the shutter before attaching it to the wall.
Step 4
With the shutter in location against the wall, drill through the shutter into the wall surface 2 3/4" deep. Make sure you drill holes deep enough so the Shutter-Lok doesn't bottom out.
Step 5
Grasp the Shutter-Lok supporting shank and push it through the shutter hole and into the wall surface. Tap the Shutter-Lok gently with a hammer to snug the shutter against the siding. Do not over tighten , or this will cause the shutter to dimple.
Note:
To remove shutters do not attempt to pull out the Shutter-Loks. Simply use a pair of snips and slide them behind the shutter to cut the Shutter-Lok off at the shank.