14 Oct
2013
2013
How to tighten and secure exterior window shutters
Categories : Decorative shutters, Helpful Tips
Article by Claire Tibbitts
Over time you may find that your exterior window shutters shift slightly and so appear misaligned. This is a relatively simple problem to correct and requires only a few basic tools.
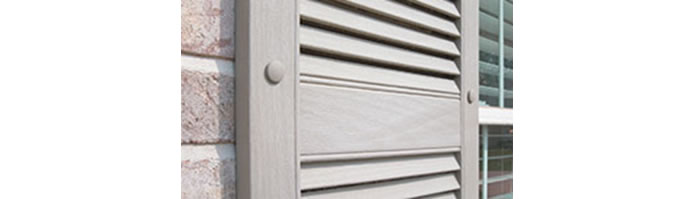
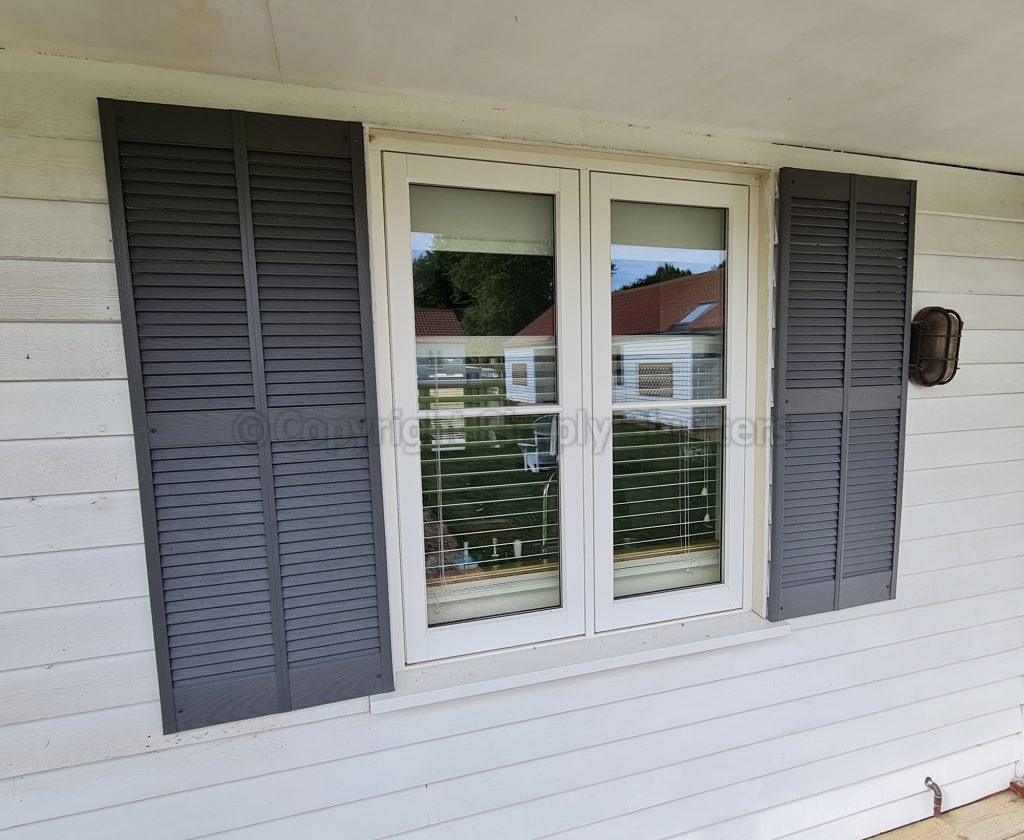
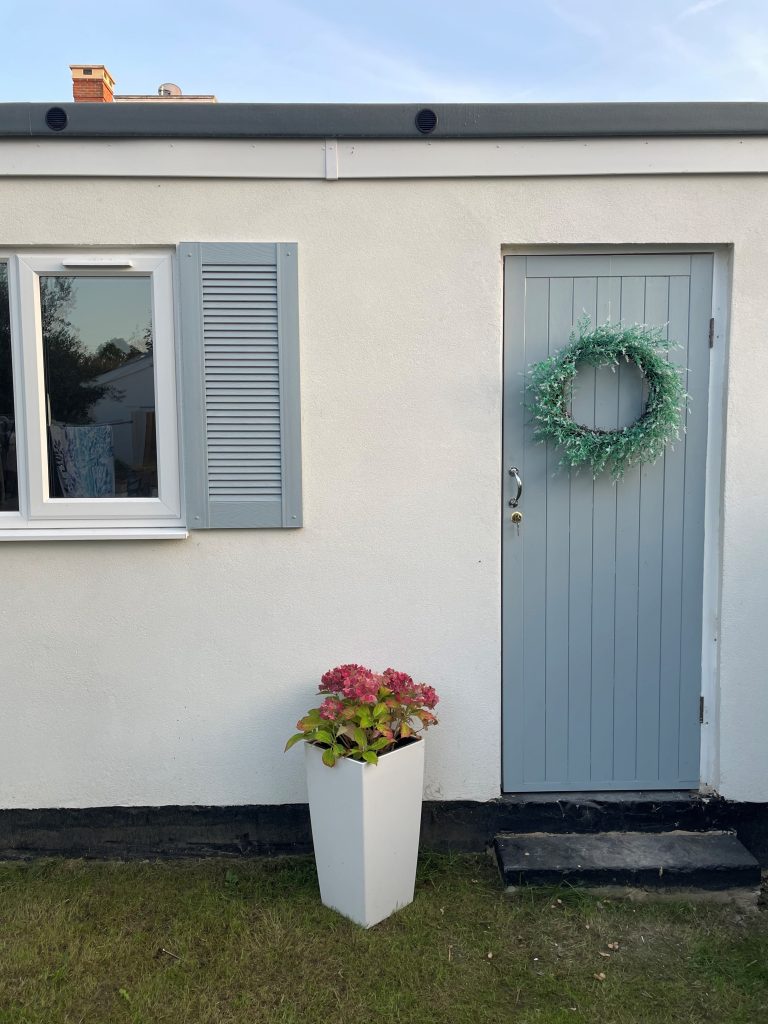
Exterior window shutters may be either decorative or functional. Decorative shutters are purchased solely for their aesthetic appeal and are fixed to the wall parallel to your windows. Functional shutters are designed to open and close in order to shield your home from harsh weather such as storms and extremes of temperature.
Both types of shutter can shift a little over time, although functional shutters are more prone to this problem because the hinges bear the full weight of the shutter and gravity is harder on the fixings. The good news is that in either case this is generally a fairly easy problem to address.
Remove your shutter / Decorative shutters
Start by removing your shutter from the side of the house. Decorative plastic window shutters are usually held in place by four screws or by a plastic plug called a Shutter Spike located at each corner. The only reason why a decorative shutter might have moved is because the wall mounting is insecure. With screw fixings this could be because the wall anchor used is too small for the hole (in the UK we commonly refer to wall anchors as Rawlplugs (TM). In this situation remove or drill out the anchor (be sure to use a smaller drill bit so as not to enlarge the hole) and insert the correct size wall anchor for the hole. We recommend using Fischer type wall anchors that have outwardly splayed tines that will prevent movement (see picture below):

Use larger screws
Be sure to check that the screw size used is the correct size for the wall anchor as this could be another reason why a shutter might move on its fixings. By replacing the wall anchor if required and using the correct size screw it should remedy the problem.
Commonly, decorative shutters, particularly those made from polypropylene (vinyl) are installed with a fixing called a Shutter Spike.
Shutter Spikes are made in the same material as the shutter and do not need a wall anchor to fix to the wall. Shutter Spikes have a serrated shank that will grab as the spike is inserted into the wall (a bit like pushing an umbrella through a hole. It will go in one way but will not pull out). Spikes are designed to be tapped into the hole.

If movement has occurred when Shutter Spikes have been used this can only be because the hole in the wall is too big. Spikes will need to be cut off the wall by using a thin hacksaw blade (a bread knife will do in a pinch) by sliding the blade between the shutter and the wall. Once spike has been cut off the core can be drilled out using a smaller sized drill bit. A small sliver of wood to take up the slack in the hole needs to be inserted alongside the new spike as it is being tapped in. Once the new spike has been tapped home, any free play that was present should have been removed.
Shutter spike after installation
Remove your shutter /Functional shutters
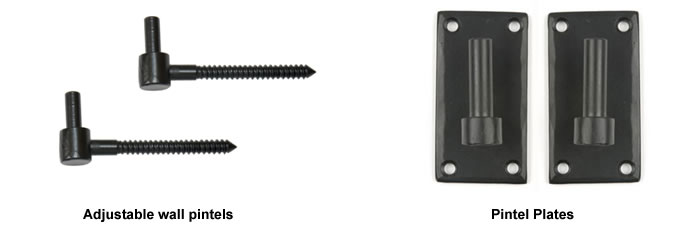
Functional shutters will have hinges that sit on mountings called pintels. With the shutter in the open position these can be easily lifted off the pintels. Functional shutters, because of the job that do, will be quite heavy so it is advisable to get assistance if removing these at height. Ideally we recommend the use of a mobile tower to be safe.
Check for play
Once you have removed your shutter, check the Rawlplugs (TM) in your brickwork or masonry. They might be too small or have become damaged, or the wall around them is unsound and they have worked themselves loose. If the wall seems fine then try screwing one of the screws back in again – it will become clear whether this provides a tight and secure fit.
Check that the wall anchor holds the screw securely. If it is the Rawlplug that has become worn, try using a slightly larger screw. Try just one size up to begin with. Should this still not provide a secure fixing you will need to replace the wall anchor using by drilling out the anchor and inserting a new one of the correct size for the hole.
 Typical hinge fixing
If it is the hinge mounting on the shutter itself that is the cause of the problem this is a little more tricky to remedy because the position of the hinge cannot be moved. You will need to unscrew the hinge from the shutter and identify which hole(s) have become enlarged. Either step up to a thicker screw or repair the holes by using 2 pack filler* available in tube form that can be squeezed into the hole. Once dry, the excess can be carefully removed and lightly trimmed. You might need to apply some touch-up paint but, as the repair will be hidden by the hinge, don’t be too concerned if the end result doesn’t match the factory finish.
Repair the wall
If movement exists because the wall has crumbled or become damaged you will need to repair the wall.
We suggest removing the fixing and using a chemical cement filler that is squeezed through a nozzle into the hole. For this purpose it will be easier to use tubes of filler that pre mix hardener and filler as you squeeze it through the nozzle. Fill in any fractures to the outer brickwork and make good any areas that have fallen away. Chemical cement sets in short period of time thus allowing you to re-drill the fixing location and apply your chosen fixing.
Inspect from a distance
Once you have attended to your window shutters, inspect them from distance to get an overall impression of how they look. If they still appear misaligned then complete a close up inspection to see whether this is really the case. On some older houses the lines of the building will not be perpendicular and the windows may not be parallel to each other – a characteristic you may not have noticed but to which your shutters draw attention. Shutters should always be aligned with the edge of the window reveal/ brickwork. If the window reveal slants then the shutters will also need to slant otherwise the end result will look rather odd.
*2 pack filler employs a catalyst hardener to cure and set the filler. 2 pack fillers are much more durable and set harder than fillers that do not use a catalyst hardener. 2 Pack fillers are generally available in tub or tube forms. For the applications mentioned in this post, we recommend using tubes for ease of application.
Related posts
About Claire Tibbitts
![]()
